6.30.2011

Pizza Pizza

We are trying to clean out our fridge right now, so we have had a couple of "creative" dinners this week. We literally had 7 different kinds of cheese in a fridge. How did that happen?

This recipe I'm about to share isn't ground breaking by any means, but it sure was yummy. I mean, who doesn't love pizza?

J and I definitely are on team thin crust. I have tried several recipes and this crust seems to be my favorite. I usually have a couple of balls of dough in the freezer that I can pull out for an easy dinner.

Pizza Crust:
3 cups (16½ oz.)  flour
2 tsp. sugar
½ tsp. instant yeast
1 1/3 cups ice water
1 tbsp. vegetable oil
1½ tsp. salt

So after the dough was defrosted I stretched and rolled out the dough. I left just it a little thicker on the outside so there was a little crust. I put a little olive oil on the thicker crust part.


Next came the sauce.

Sometimes I even have homemade sauce in the freezer, like I did earlier this week.

Pizza Sauce:

1 (28 oz.) can whole peeled tomatoes, drained
1 tbsp. extra-virgin olive oil
1 tsp. red wine vinegar
2 cloves garlic, minced or pressed
1 tsp. salt
1 tsp. oregano
¼ tsp. ground black pepper


Then I added some of the 7 different kinds of cheese in my fridge to make a 5-cheese pizza. Swiss and colby jack didn't make the cut.


 Provolone


Cheddar

Mozzarella

Ricotta

I know, I know that's only 4 and I promised 5 cheese. I also used Parmesan, but there's no picture. Sorry! Guess I got too excited to bother with snapping a pic. I was pretty hungry. I get cranky when I'm hungry. Ask Jacob, he knows. 

So into the oven the pizza went. It cooks at 500˚ for 10-15 minutes. 


About the time I finished cleaning up and setting the table, I was rewarded with a meal with all my favorite food groups: cheese, carbs, and garlic. 


I apologize for my food photography skills. Well, really my lack of photography skills in general. And my point and shoot camera that's seen better days.


The pizza looked way better in real life. Guess you will just have to make it yourself to see.
6.29.2011

Baby Shower Gift

As I mentioned before here, we have a beautiful new niece. Almost as soon as we got the news that my BIL and SIL were pregnant with a little girl, Aunt Kim went on a shopping spree. Yep, we started spoiling her before she even made her big entrance.

From the day we got the good news, I knew exactly what I wanted to do for a baby shower gift. I had seen this idea on Facebook a while back and I knew it would be perfect. So as soon as we knew the baby's sex, I took it as my green light to go.

To start I began to collect baby clothes... a lot of baby clothes. But hey, a girl can't ever have too many clothes, right?

Every time I got a good coupon for somewhere (think JCPenny $10 off cards), I would buy an outfit or two so I really did this at a reasonable price.

Once I had all the baby clothes, I got a clothesline, a bag of clothespins, and a wicker laundry basket. See where I'm going with this?

I put all the clothes on the clothesline with the clothespins and put them in the laundry basket like this


I wrote pull here on the top clothespin. Then I threw a comfy baby blanket on top to hide the goods and tied a tag on the handle.


I had a blast doing this. I love how it turned out. It was so much fun watching her open it.


I can't wait to do it again! Who's next? :)

Linking up to

Home Stories A to Z Tutorials & Tips Tuesday
Tip Junkie handmade projects
6.28.2011

Cheap Thrills

Hi, my name is Kim and I am addicted to Goodwill. (I'm imagining you all saying "Hi Kim" in unison)

I think the reason I love it so much is because it gives me my shopping fix without spending loads of money. Plus it's way more exciting to find "treasures" than to just buy stuff off the shelf at any old store. (Not that I don't enjoy that too.) I just think it's fun to find things that have been thrown away by someone else, that just need a little TLC.

So let's get to the good stuff. Here are some recent find:


This picture makes it look like I'm hoarding candlesticks. I may or may not be. I got each of these candlesticks for between 1.00-1.99. They will all get a fresh coat of spray paint and probably be placed in threes. I know one set is going on the guest room dresser and the other set is still moving to different spots as you read this.


 I love lamp. This is more of an after picture, but I love how these lamps turned out! I forgot to take before pictures (bad blogger), but the top lamp was shiny brass and the bottom pair were a dark wood. All it took was a can of white spray paint and a couple of minutes and I got white lamps! I got each of them for less than $5. The pair lives in our bedroom which you can see here. The single lamp found its home in the guest room.


Ok, I don't know about you, but I HATE spending money on holiday decorations. So I try to look all year long for them. I usually have a rule that I will only buy them if they are the color of the week (half-off) or its a half-off Saturday. Typing that out loud makes me realize how cheap thrifty I can be.

Birds. I don't know why I thought I needed them, but I did. I had been searching for some that I liked  everywhere (not just GW) but these 2 I couldn't pass up for $1.99. They need painted, yes, but they will look good once I'm done with them. Promise. Currently they live on the console table in our living room on a tray.

One of my major projects for this summer is organizing all our closets and the pantry. I figured these baskets will come in handy. 

This right here. This is probably one of the finds I am most proud of. $12.00.

If you're still with me, here's how it went down:
I looked and looked and looked for a small dresser for the guest room, but all I could find were tall chests or giant dressers. A couple of Saturdays ago, the hubby and I were running errands on a tight schedule and I saw that it was a 50% off everything sale at Goodwill. Since we were on said tight schedule, J did not want to stop, but I begged and begged and he did. I ran in while he pouted waited in the car and sure enough there were 2 dressers that fit the bill. Fate? I think so.

So when I came back out with a receipt, J was less than thrilled because he knew what that meant. It meant we got to wait in the long line to pick the dresser up around back. Of course, then the dresser didn't fit in the car.

At this point, I think J was about to make me walk home, carrying the dresser. With my good looks and charm though, I convinced him we just had to tie the trunk down and drive carefully. It worked and we are still happily married.

Now I just need to decide: paint or stain? which color? how can I get J to help? Just kidding on the last one...kinda.

Linking up to


HOGPhotobucket


6.22.2011

Summer Here I Come

I am done with summer classes!!!! I just submitted my final paper this evening. It's only been a few hours, but I already love not having the sense of doom homework hanging over my head at all times.

I'm so excited to have a couple of weeks to do whatever I want! Not that I don't want to be in school, but its not exactly relaxing.

On an unrelated note, Jacob took the cutest picture of Penny ever today. I just had to share.


This pic is also high up there on the cuteness scale


I love my Penster. 

That's all I've got for tonight. Short post, but I couldn't wait to share the puppy pictures!
6.20.2011

Weekend Update

I can't believe it's Monday. We had a very busy weekend, but we had a lot of fun!

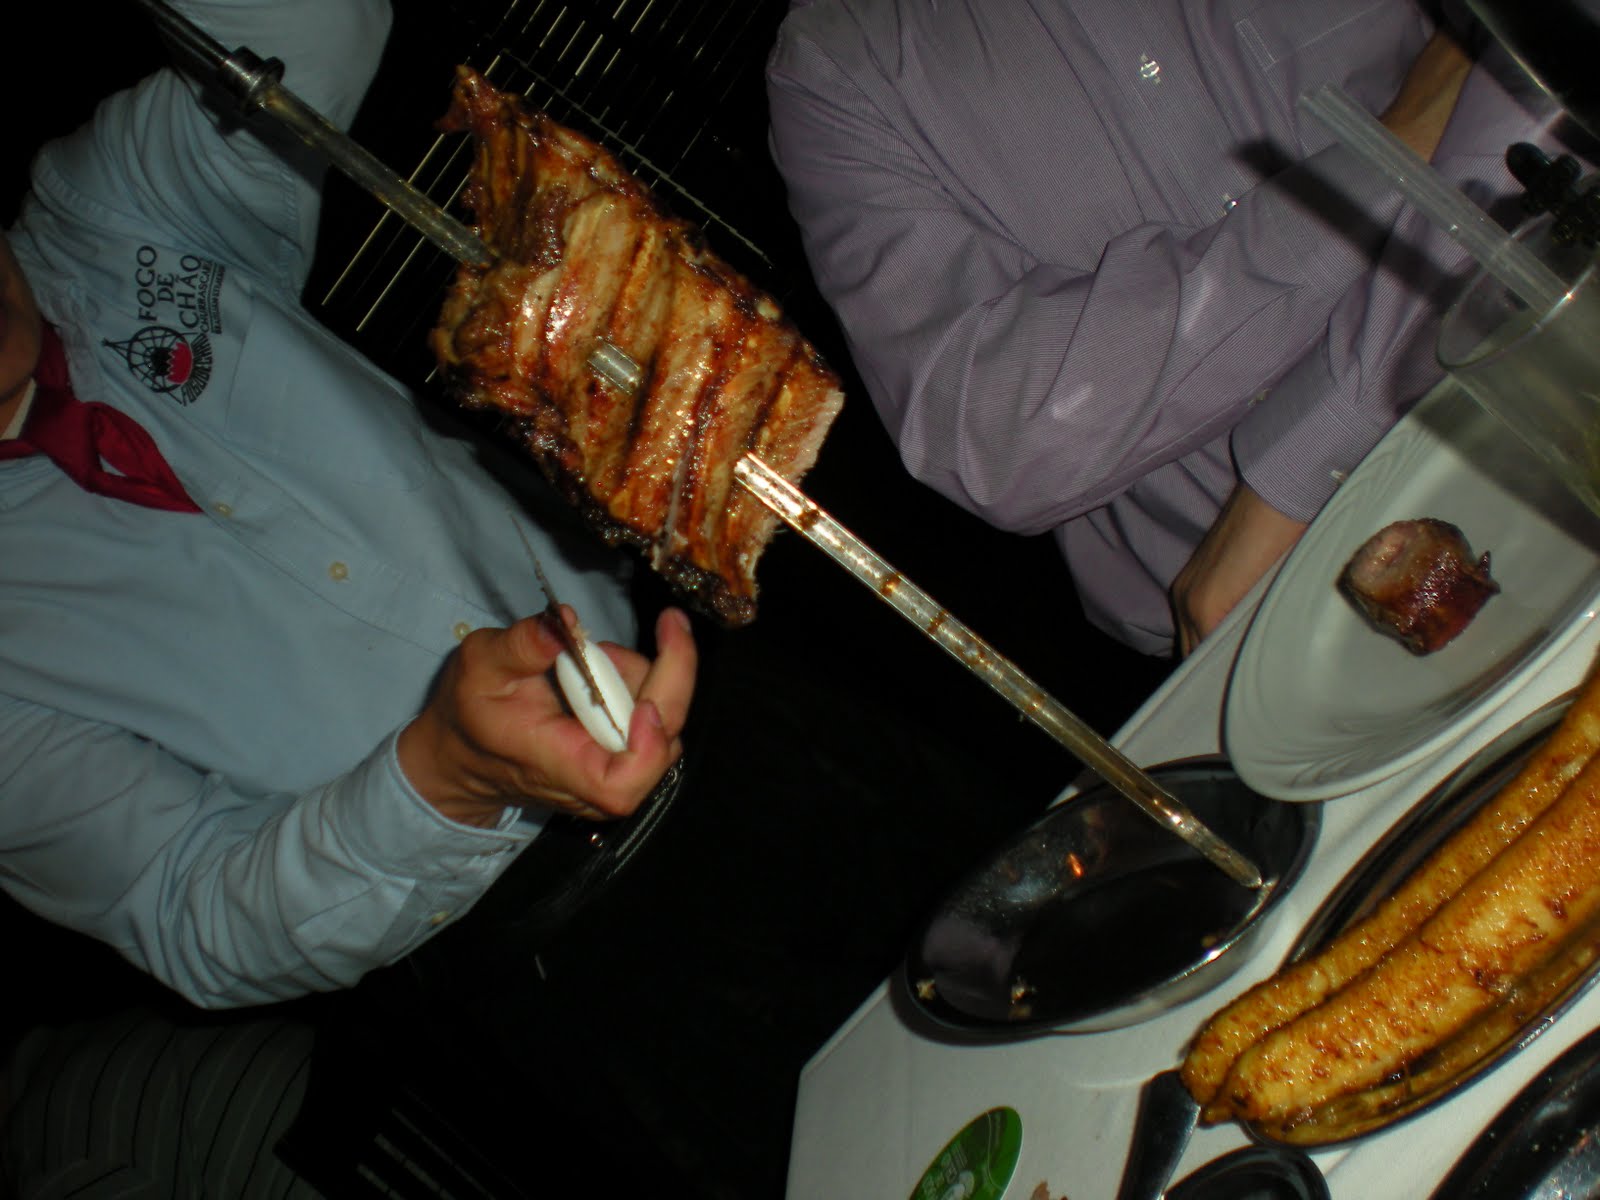
On Friday, we went out to celebrate my new internship at Methodist. We went to Fogo de Chao for the first time. It was yummy and a lot of fun! We did gain about 20 lbs though


For Father's Day we had my side of the family over for a brunch. I think breakfast food is my favorite.


The cinnamon rolls are Pioneer Woman's recipe. I follow this recipe exactly, because they are perfect. I usually make a powdered sugar icing with them though instead of the maple icing. It's just powdered sugar, vanilla, and milk mixed together.


For the fruit salad I first put in the bowl a big can of pineapple chunks and a big can of peaches, juice and all. (Note: I wouldn't put as much juice in next time). I then mixed in a package of instant Vanilla pudding until it dissolved and added blueberries, grapes, and strawberries. I would normally also put in a banana, but my mom hates them.


The Eggs Benedict were a group effort. We toasted the English Muffins by putting them under the broiler for 2 minutes then added the Canadian Bacon and broiled for 1 minute.

Grandma showed us all how to poach an egg correctly. Apparently you can do this ahead of time according to Martha.

The Hollandiase Sauce was Julia Child's recipe:

Ingredients:
3 egg yolks
1/4 teaspoon salt
Pinch black pepper
1 to 2 tablespoons lemon juice
8 tablespoons (1 stick) butter, cut into small pieces
Directions:
In a blender, combine the egg yolks, salt, pepper and 1 tablespoon of the lemon juice. Set aside.
In a small saucepan over medium-high, add the butter and heat until foaming.
Blend the egg yolk mixture at top speed for 2 seconds then, with the blender running, remove the cover and pour in the hot butter in a thin stream of droplets. By the time two-thirds of the butter has been added, the sauce will be a thick cream. Continue pouring, but don't pour in the milky residue at the bottom of the pan. Taste and adjust seasonings.

Then we topped it with paprika!

At the last minute, I also added Raspberry Stuffed French toast. I used this and this for guidance.

I took a loaf of french bread and sliced it into 2 inch pieces. I got 9 pieces out of the loaf, not including the ends. I then cut a deep slit across the middle of each piece which served as the pocket for the filling.

For the filling I mixed together 2 blocks of cream cheese with about 2 Tbsp of raspberry jam and a handful or two of fresh raspberries. I stuffed each piece of bread with the filling before dipping it in an egg bath.

The egg bath had:
4 eggs
2 cups milk
2/3 cup heavy cream
pinch of salt
1/2 teaspoon vanilla extrat
 1/2 cup sugar
Cinnamon ( I eyeballed it)
A little bit of nutmeg

After each piece was dipped into the egg bath, I cook the french toast for about 3-5 minutes on each side.

To finish them off, I sprinkled some powdered sugar on them and topped them with a few fresh raspberries.Yum!

I didn't mean for this post to only be filled with food pictures, but apparently those are the only pictures I took this weekend. I promise we did more than just eat all weekend, although the pictures on my camera would argue otherwise.

I did snap a picture of baby Isabella while we were at my in-laws though


So now we have a post with babies and food, which pretty much sums up the highlights of my weekend.

Of course, the other highlight was spending time with my family and my dad! For those that know my family, you know that I have a pretty awesome dad. There has never been a question in my mind that he would do anything for any of us kids (even if he did wear the shirt he knows my siblings and I hate to the house just to get a reaction). But hey, that's Dad humor. Even with his ugly shirt, loud snoring, and "jokes", I wouldn't trade him.


Linking up to:
Tip Junkie handmade projects
6.17.2011

Pottery Barn Knock Off

I love Pottery Barn. Plain and simple. I wish I could buy 98.539% of their store at all times. Maybe it's a good thing that we live in in the middle of nowhere. The only time I am ever close to one is when my beloved laptop needs to visit the Apple Store. Why did they put the Apple Store right next door to Pottery Barn????  Ugh.

First world problems, I know.

Wondering where I'm going with this? Me too.

What I am trying to say, in the most roundabout way possible, is that when I took my computer in last week and walked by PB, I remembered a project I wanted to share.

So what's the next best thing to Pottery Barn? Goodwill! I kid, I kid but I do kinda love it.

During a not-so-recent trip to Goodwill I found ugly light fixture for $5.99 that I just had to have. When I brought it home J thought I had gone nuts. This was pre-blog so I don't have any before pictures (sorry!) but it looked a lot like this one, only covered in dust and GW stench:


After J stopped making fun of me, I very kindly let him know that it was nothing a little bit of paint couldn't fix. I recently discovered Rust-Oleum's metallic spray paint in Oil Rubbed Bronze and I knew it would do the trick!


So I took the whole light apart, cleaned it, went to the garage, and got my spray paint on. I did a couple of light coats and kept the paint can moving. After it dried and I put it all back together it looked like this:


Looks pretty close to this, right?

Pottery Barn $269
Great Success! (Imagine a Borat accent)

So while painting the light was a success, the next part of the story was a big fat FAIL. I had planned all along for the light to go in the entry way. J hung it up, we admired it, and I was so proud of myself that I sent my sister this picture.

Notice anything wrong? I didn't.

But my sister, who obviously is more observant, pointed out that the light hangs lower than the door. DUH! How did I not even notice that? So back down it came. At this point it was late so I put it in on our guest room floor to deal with the next day, where it lived for the past 2 months.

This past weekend we finally got around to moving it from the floor to the ceiling!


Not too shabby for $5.99 and a can of spray paint.

Penny likes it too. She says hi.


Linking up


HOG


Photobucket


Tip Junkie handmade projectsThe DIY Show Off
 

Blog Template by BloggerCandy.com