2.22.2013

Built-in Refrigerator

Happy Friday! Today I woke up to an unexpected three day weekend due to a snow day from work so I got to spend my day in my PJs catching up on my DVR and daytime TV. I think I needed today more than I realized as I feel rested for the first time in weeks.

It has bothered me that you walk right in to the side of the fridge when you enter the kitchen since we moved in. I told J I wanted him to build it in and he laughed at me. Then I showed him how Young House Love did it and he jumped on board. I am actually pretty sure he was way more excited about doing it than I was in the end. 

Last weekend we finally got enough time to start and finish building in our fridge.
Our adventure started off with buying a $20 cabinet from the Habitat for Humanity Restore in Indy. This was my first time here and I have to say that I was impressed. My lovely nieces helped us pick a cabinet. I'm teaching them young.


Next, we let the cabinet sit in the garage for a month... This is key ;)


We could not find a cabinet that was tall enough to reach the top of our cabinets so we had to be creative.


We finally decided that these winos could really use some wine storage. We used plans from Lowes  and modified them to a make it a double wine rack.


We attached the wine rack to the cabinet with screws.


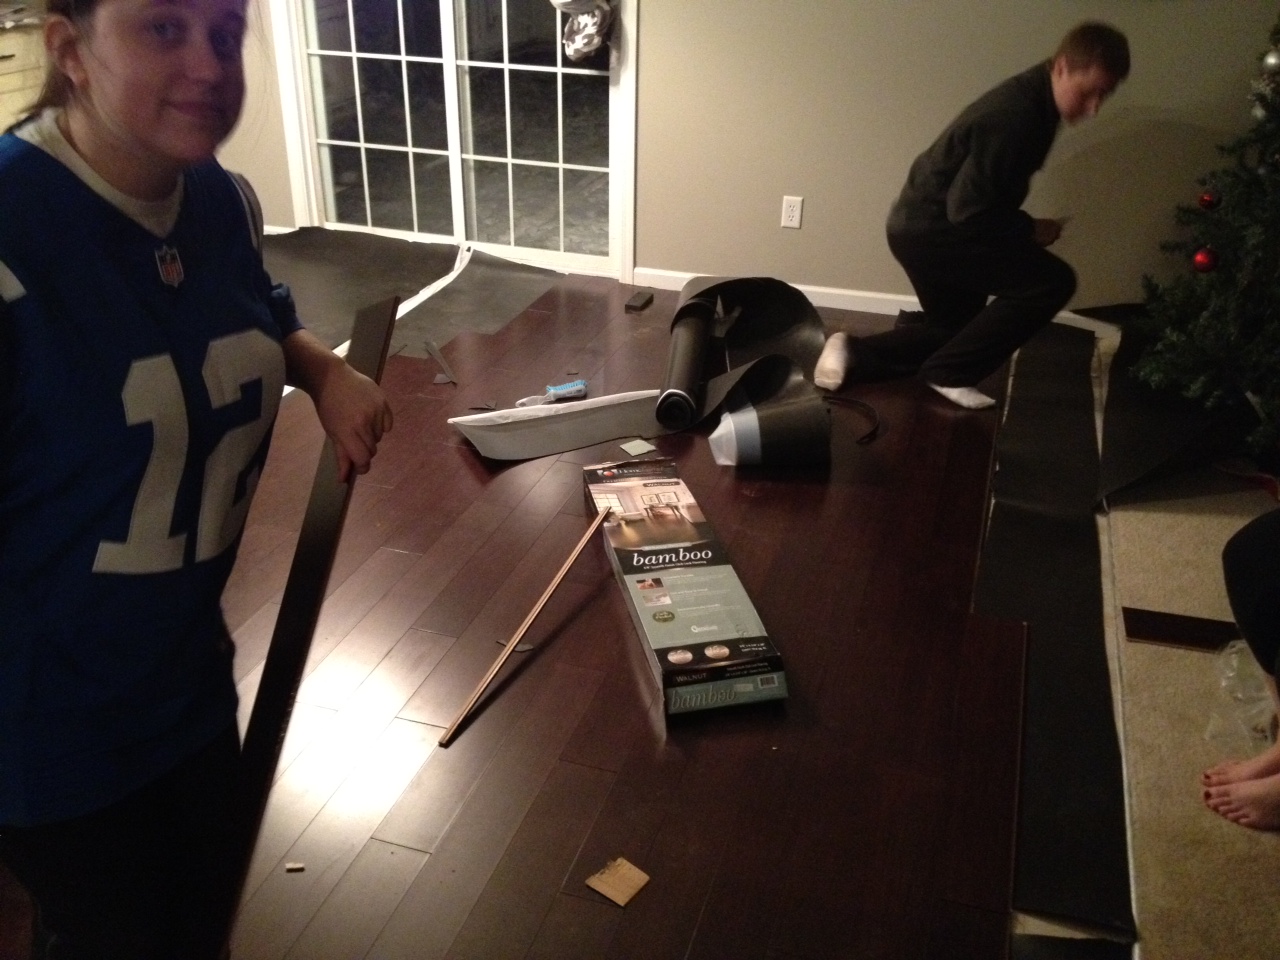
It was then finally time to attach the sides. The sides are actually just high quality plywood, also from Lowes.


We added a support piece of wood in the back to keep things straight and to have something to attach to the wall up top.


We also added a pine trim piece to the front of the sides and the to the wine box to make everything even and smooth. We just did this with the nailgun.


Then we did the typical, sand, prime, paint routine. Piece of advice: Paint the wine box before putting it together.


To prep to move it into the house, we ripped off the baseboards and quarter round behind the fridge and the crown molding on the cabinet next to the fridge. 

Now we had to figure out how in the world to move it into the kitchen. This baby is awkward and heavy. Once in, we slide it over the fridge and  pushed it flush against the cabinets. We attached it to the cabinets on the sides and to the wall via the wood support piece in the back. It took more time than I had imagined to make sure everything was straight and level. We used some woodshims at the bottom to make it perfectly level.


Jacob installed the crown molding on the top, the quarter round on the side bottom, and a tiny piece of baseboard on the back wall. We also added a little piece of trim between the new cabinet and the upper cabinets as there was a little gap. 

Obviously, the thrift store find doors did not match our current kitchen cabinets and I wanted the new cabinet to look like it had always been there. Luckily, the previous owners had left behind two extra cabinet doors and even hinges and hardware.  

The doors were far to big for the small little cabinet so Jacob basically cut the middle out of each door and then put them back together with liquid nails, filled the gap in with wood filler, primed, and painted.


Next we attached the doors and called it quits. Just kidding...

It's a law in our world that when we think we are done, the very last thing will go wrong, so what happened next did not surprise me. When we put on the new doors there was a teeny tiny little gap between the door and the middle of the cabinets because the new hinges moved the door over about 1/4 inch. To fix this, Jacob sawed out the middle piece of wood between the doors and replaced it with a wider piece of wood he found in the garage. We painted that piece, caulked, did some touch ups and now we can call it 100% done!


It's a huge improvement in my opinion and I think J loves it even more than me.


The best part is that I need to buy lots more wine!


Linking up to the Pinterest Challenge with Young House Love, The Remodeled Life, Bower Power, and Decor and the Dog


2.18.2013

Little Man Baby Shower

If you remember, 10 hours after finishing installing our new floors it was on to the next project, a baby shower for one of my best friends, Courtney. I was super excited to host the shower and begged her to do as soon as I called her out found out that she and her husband were expecting.

The theme for the shower was Little Man. Thank you Pinterest. I got inspiration from here, here, and here.

I got the invitations on Etsy from Katiedid Designs. I deleted personal information to keep away the internet creepers.


The rest of the printables, including the invitation insert below I got from Baby Buns Designs on Etsy Both of these ladies were great to work with! I printed the invitations at Walgreens and the rest of the printables at home.

The mom-to-be's one request was to have each guest bring a book for the little man. It is such a cute idea and I cannot believe that she did not get a single duplicate.

 
The food. The most important topic in my life. Did I mention I'm on a diet? Anyway...I decided to do "what is your craving" for the food. I'm sure I saw the idea somewhere, but now I can't find it.


The popcorn containers were from Party City.


The sandwiches were chicken salad and pulled pork sliders.


The breadsticks were from Fazoli's and were"mommy's craving."


Decorations.


For the games/activites we played the Price is Right with baby items, made wishes for the baby,  and made DIY Onesies.


To make the onesies, each person picked a onesie, a fabric scrap, and a pattern. I printed patterns off all sorts of places online and found about 40 different ones I think. After cutting the fabric out,  the next step is to use heat and bond paper to iron each shape onto the onesie.


They turned out even cuter than I would have imagined and even more importantly the mom-to-be loved them!


Now on a more sentimental note... (This is cheesy, don't say I didn't warn you)

These girls have been my best friends for around 10 years. Even though some of them left me moved away and we are physically fall apart, I feel just as close with all of these ladies as ever. Every time we get together, we pick up right where we left off like no time has passed. I feel so lucky to have these friendships and I appreciate how rare our "group" really is. How many people can say they even still talk to 3 of their friends from when they were 15, let alone still consider them best friends so many life changes and years later?


Now for one of my favorite pictures from the shower, even though it was technically after...


I cannot wait to meet Baby D! He is loved so much already.  We are all  eagerly anticipating his arrival in about 4 weeks!
2.03.2013

Bamboo Floors Part 2

When we last visited the floor project we were somewhere about here.


I promise it got better from here and I'm happy to report that the house is back to normal finally. 

The click and lock went down relatively quickly. The cutting and cutting and more cutting was that time consuming part.


We had to end early (ugh!) again on day 2, so we ended about here.  Luckily, the next day we had some reinforcements come in and we were able to knock out the hallway, the entry way, and the kitchen.

One of my best friend's husband Matt and my brother in law Zack were super helpful!


This is my I'm over it face. My brother had just had his wisdom teeth out but he ran our errands and it looks like he also put some boards in.


This is the only way I saw Jacob for 5 days, except he would (thankfully for you) pull his pants up when I took a picture.


 My sister Ashley helped but is taking a break in the picture. Preggo on the right supervised.


If I don't mention that my dad also helped and mom "supervised" I will never hear the end of it so although they aren't in these pictures they were helpful and we appreciate it so much!


They all helped us knock out the majority of the floors on day 3. The light at the end of the tunnel was getting brighter. We only had the pantry, the hall by the garage and the bathroom left. Unfortunately, every single board in these areas had to be cut. During this part Jacob did the cutting, while I measured and put in the boards. It's a good thing we like each other is all I have to say. 


We finished the pantry pretty quickly on day 4.


 Then...we got stuck. We moved into the hallway between the garage and the bathroom in which there were three doors and the rest of the day looked like this.


 Jacob spent FOREVER in the door way. Seriously. I wanted to scream but lucky for him I wore my patient pants that day. All you need to know is that my idea was right and his was wrong.

This was Saturday before going back to work and even though we had only tiny spaces left to finish on day 4, we did not finish.

Day 5: The bathroom. We had to remove the toilet which require trips to Lowes and a visit from my father in law but we did it without breaking or ruining anything so I'm going to chalk it up as a win. The other bonus is that now we know how to change toilets ourselves.

And at about 4pm on the Sunday before returning to work after Christmas Break, the last piece went in. In the spirit of keeping it real, I measured the very last piece wrong and the picture below is not the last piece, but let's pretend.


 The boards were all down, but we couldn't call the floors done just yet. We had to paint and re-install the quarter rounds and wait for the carpet reducers to come in. We had to special order transition pieces for between the rooms that did not get new floors. Unfortunately, these took a couple of weeks to come in, but I'm happy to report that they are in now too. I was not near as excited about the transition pieces so I didn't taken any pictures of the installation, but basically one end slides of the hardwood and the other end we pulled and tucked the carpet under. We just used liquid nails to hold them in place. Sorry for the extremely blurry picture.


As for the quarter rounds, I used my trusty spray paint to give them a fresh coat of paint and then Jacob used a nail gun to reattach them. Some caulk and some paint touch ups and the floors were officially 100% done! 

An entire 10 hours before I was hosting a baby shower for one of my best friends at our house...
 

Blog Template by BloggerCandy.com